John and I wanted our wedding invitations to reflect our character and interests. We also are using our favorite fictional universes at our wedding reception, so it made sense for the invitations to match. I have previously posted about this, here and here. While it was my original intention to make six complete paintings, and as a result, six invitation options, I only ended up using two designs. I made a Doctor Who inspired invitation, and a Firefly inspired invitation.
In the Doctor Who invitation John is the doctor and I am a companion, (inspired by Donna in "The Runaway Bride" only in that she wears a wedding dress.
In the Firefly invitation, John is Simon and I am Kaylee, a character you all have seen me play before.
I love how both options turned out and of course, we had them printed by Moo.
Showing posts with label DIY. Show all posts
Wednesday, May 21, 2014
Tuesday, May 20, 2014
Save the Dates
My wedding to John is coming up in just a few weeks now. You may have noticed my absence here and on Hungry Griffin for several months. I have been planning and organizing and it has been taking up a large amount of my time and attention. I will of course have some diy projects to share once the wedding is over, as I have done quite a few in preparation. As a sneak peak, I thought I would share our save the date cards with you.
John and I have been together for seven and a half years and we have been engaged for the last three. We are aware that this pace is not the traditional one, but we both wanted to take our time. We thought we would incorporate that into our save the dates.
This was my original sketched out idea for the cards. I made it late one night after John and I came up with the idea and I didn't want to lose it. It actually is quite similar to how the actual cards turned out.
We had a good time with it. I bought us some "mature" clothing for us at a thrift store, some old glasses (neither of us could see a thing through them, and I bought John a bubble pipe. The knitting and newspaper were easy.
We had a lot of silly options to choose from, but we love the one we went to and the cards turned out great! We got them printed at Moo.
John and I have been together for seven and a half years and we have been engaged for the last three. We are aware that this pace is not the traditional one, but we both wanted to take our time. We thought we would incorporate that into our save the dates.
This was my original sketched out idea for the cards. I made it late one night after John and I came up with the idea and I didn't want to lose it. It actually is quite similar to how the actual cards turned out.
We had a good time with it. I bought us some "mature" clothing for us at a thrift store, some old glasses (neither of us could see a thing through them, and I bought John a bubble pipe. The knitting and newspaper were easy.
We had a lot of silly options to choose from, but we love the one we went to and the cards turned out great! We got them printed at Moo.
Monday, May 19, 2014
Camera Strap
Recently my mother passed on one of the things I remember most fondly from growing up, her Nikon. It was made in the late 1970s and it has real heft, something I miss in newer cameras. The camera is in great shape, all of the gears and buttons still operate and there isn't even much wear on the body.
While the camera itself is in fantastic shape, the strap was another matter entirely. The two layers of the strap had separated and the leather/faux leather (I am not sure) was looking pretty beat up and worn out. I decided to do a little revamp.
What I ended up doing was tearing out the remaining stitches between the two layers and tidying the loose threads left over from wear and tear. I then covered the leather strap with a beautiful red cotton with a sunburst pattern, and reattached the two layers. I left all the original hardware as is, including the two leather ends of the strap. I think the effect is nice. The strap retains the character to match the camera, but the color is bright and the strap is secure.
What old things could you give a lift?
While the camera itself is in fantastic shape, the strap was another matter entirely. The two layers of the strap had separated and the leather/faux leather (I am not sure) was looking pretty beat up and worn out. I decided to do a little revamp.
What I ended up doing was tearing out the remaining stitches between the two layers and tidying the loose threads left over from wear and tear. I then covered the leather strap with a beautiful red cotton with a sunburst pattern, and reattached the two layers. I left all the original hardware as is, including the two leather ends of the strap. I think the effect is nice. The strap retains the character to match the camera, but the color is bright and the strap is secure.
What old things could you give a lift?
Wednesday, February 19, 2014
TARDIS
Who loves Doctor Who? I do!
I've been working on a nine inch tall TARDIS. It's for the wedding, so I won't give specifics on how it will be used, but I can give you some sneak peaks.
I made it from cardboard and paper mache with a top piece made of sculpey. I gave it a coat of white paint as a primer so that the paint color would really pop.
The hardest part was the lettering for the Police Public Call Box signs. I printed the sign for the door on the computer.
What kind of crafts take up your time? What's your favorite TV show?
I've been working on a nine inch tall TARDIS. It's for the wedding, so I won't give specifics on how it will be used, but I can give you some sneak peaks.
I made it from cardboard and paper mache with a top piece made of sculpey. I gave it a coat of white paint as a primer so that the paint color would really pop.
The hardest part was the lettering for the Police Public Call Box signs. I printed the sign for the door on the computer.
What kind of crafts take up your time? What's your favorite TV show?
Tuesday, February 4, 2014
February
It's February in San Diego, and I feel like I have a lot going on. It doesn't feel like February in any other place I've lived.
I just got back from a week in Portland with my sister, brother-in-law, and their now five week old baby boy. It was so nice to see them all, and to feel really useful, cooking, cleaning, and taking care of that little boy. When I got back, it was to a pile of reply cards from our wedding invitations. The wedding is coming along. It is less than four months away and I am really starting to dig in now. In fact, one of my major projects for the month is sewing tablecloths and napkins for the reception.
The checked fabric is for the tablecloths, the solid blue for napkins. How do you like my makeshift ironing board.
John and I are also considering a bit of redecoration in order to create better (read tidier) storage, and to maximize seating. My sewing projects have kind of gotten out of control, even taking over some of the floor now.
I'll let you know how that comes along.
I have a sewing date for tomorrow, so maybe I will have something fun to share after that.
I just got back from a week in Portland with my sister, brother-in-law, and their now five week old baby boy. It was so nice to see them all, and to feel really useful, cooking, cleaning, and taking care of that little boy. When I got back, it was to a pile of reply cards from our wedding invitations. The wedding is coming along. It is less than four months away and I am really starting to dig in now. In fact, one of my major projects for the month is sewing tablecloths and napkins for the reception.
The checked fabric is for the tablecloths, the solid blue for napkins. How do you like my makeshift ironing board.
John and I are also considering a bit of redecoration in order to create better (read tidier) storage, and to maximize seating. My sewing projects have kind of gotten out of control, even taking over some of the floor now.
I'll let you know how that comes along.
I have a sewing date for tomorrow, so maybe I will have something fun to share after that.
Friday, December 13, 2013
Ornament
John and I are heading to a tree trimming party this weekend, so I made this ornament.
It was fun to make and I think I'll make some more for other people.
Thursday, October 10, 2013
New House Organization
As our new home is considerably smaller than our last place, it is really important to keep things tidy. To be successful in this task, I made myself a dry erase board will all my daily and weekly tasks.
I used a large picture frame, glued some fabric down on the cardboard backer and then added a calendar template I made from paint samples and a couple of lists.
I separated my cleaning tasks into daily and weekly and then assigned a weekly task to each day of the week. I find that just having these lists up makes me more conscious of clutter and helps me to keep our apartment tidy.
What do you do to keep up with your daily tasks?
I separated my cleaning tasks into daily and weekly and then assigned a weekly task to each day of the week. I find that just having these lists up makes me more conscious of clutter and helps me to keep our apartment tidy.
What do you do to keep up with your daily tasks?
Tuesday, October 8, 2013
Companion Cube Ring Box
So the wedding plans move forward. Now that we are eight months out it is actually reasonable for me to do all the planning and crafting I have been doing all along. My most recent wedding related craft is a box for our rings. As you may have suspected from previous posts (see Christmas Decorations) John and I are a bit geeky. We love video games, comic books, science fiction and fantasy in print and on the screen, and of course, tabletop games of all types.
When it came to creating something special to hold our wedding rings, I turned to our geekiness for inspiration. John loves the Portal games and I had a good bit of fun playing the first game before getting a bit overwhelmed by the motion (I have some trouble with queasiness). I love the dialogue and the characters in both games. The AI are especially amusing. Anyway, what better geeky icon that is shaped like a box than the companion cube. You know, this guy:
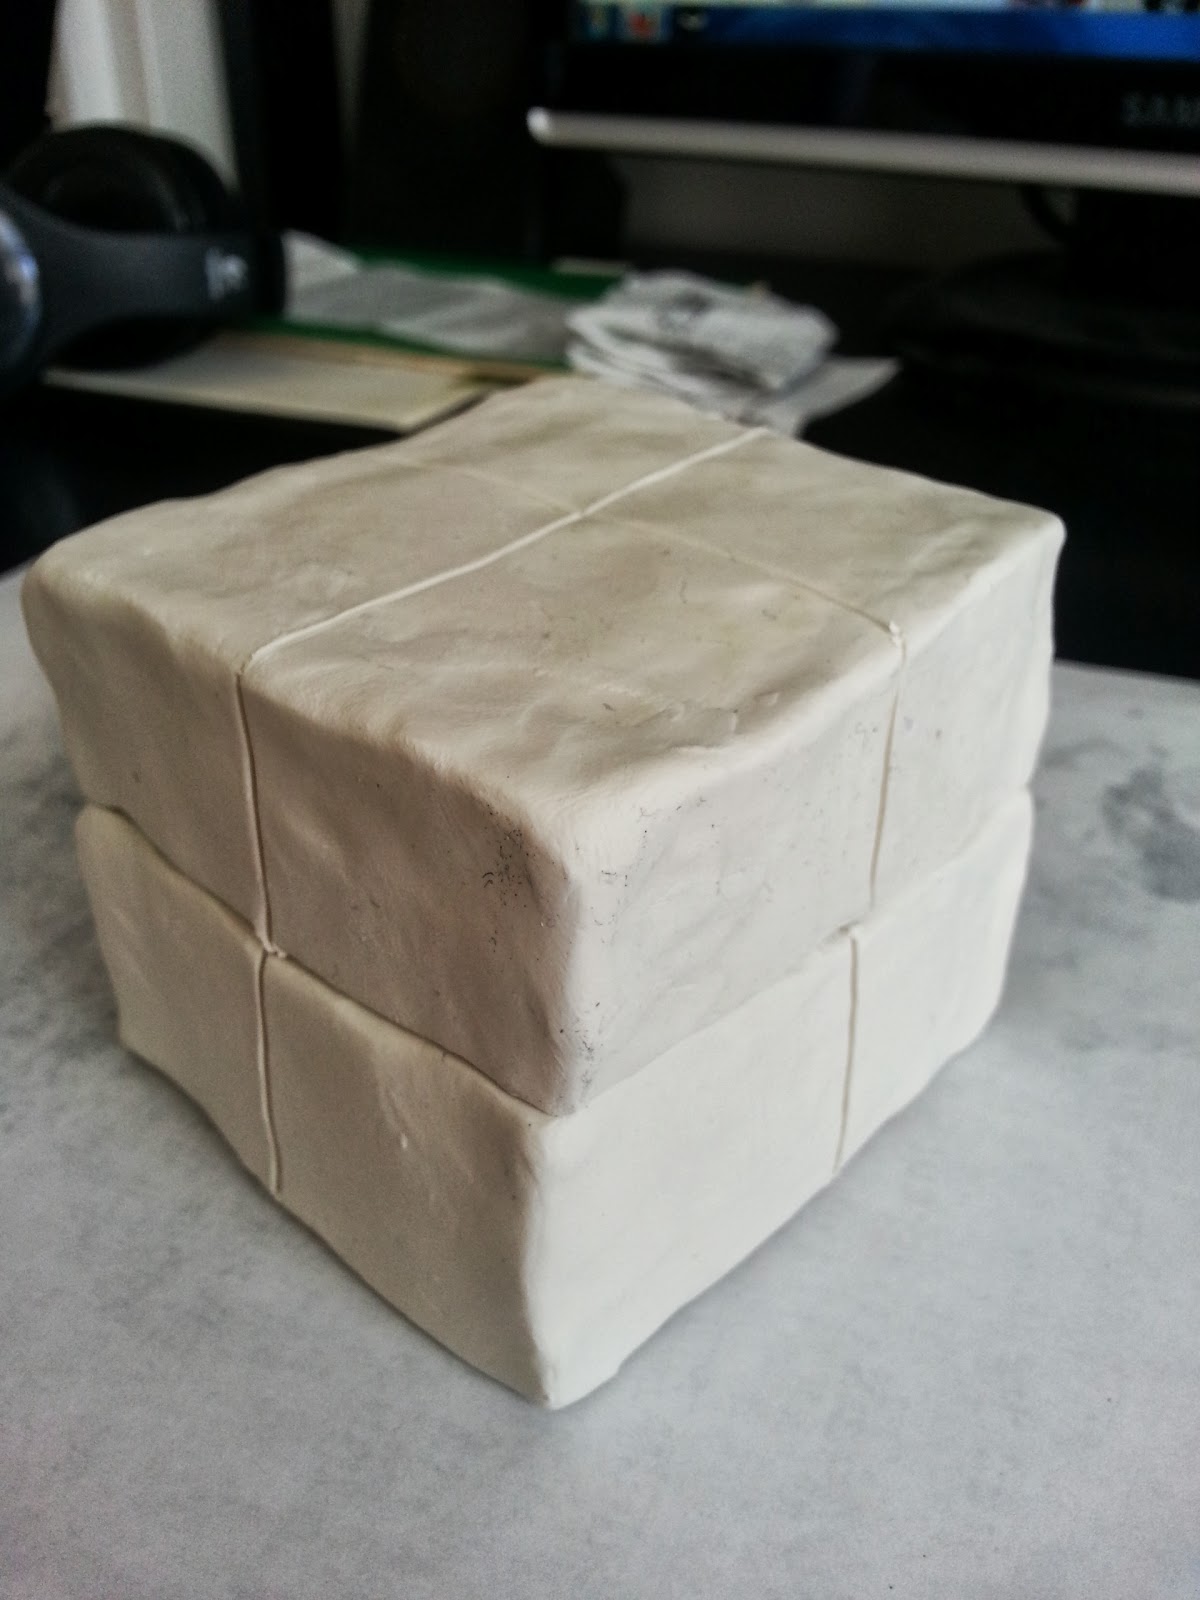
Anyway, after a bit of fussing with little pieces of wood, I got a bit frustrated. Looking around for alternatives, I decided to go the Sculpey route.
I got this little ceramic box at a Michaels and proceeded to cover it with Sculpey.
I then scraped the engraved lines in the sides of the box that don't join.
Then came adding the sculptural elements of the box. I found using a template and eyeing it from there to work well.
Once the piece was completely built, I baked it and started to apply the acrylic paint.
I took breaks to let the box dry between sections.
Once it was painted I sealed it with a clear spray coat. While it doesn't have a perfect finish, I love the idea of our rings living inside it for a while.
I still have to make a little bag for the rings, but there is our companion cube ring box. We probably won't have the heart to incinerate it when we are done with it.
When it came to creating something special to hold our wedding rings, I turned to our geekiness for inspiration. John loves the Portal games and I had a good bit of fun playing the first game before getting a bit overwhelmed by the motion (I have some trouble with queasiness). I love the dialogue and the characters in both games. The AI are especially amusing. Anyway, what better geeky icon that is shaped like a box than the companion cube. You know, this guy:
I got this little ceramic box at a Michaels and proceeded to cover it with Sculpey.
Then came adding the sculptural elements of the box. I found using a template and eyeing it from there to work well.
Once the piece was completely built, I baked it and started to apply the acrylic paint.
I took breaks to let the box dry between sections.
Once it was painted I sealed it with a clear spray coat. While it doesn't have a perfect finish, I love the idea of our rings living inside it for a while.
I still have to make a little bag for the rings, but there is our companion cube ring box. We probably won't have the heart to incinerate it when we are done with it.
Saturday, May 11, 2013
Handmade Skirt
When I was a kid, I made a few pieces of doll clothing from patterns as
well as making at least one dress with the assistance of my mother.
After that, most of the sewing I did were modifications of garments I
already owned, or making home-goods like pillows, tablecloths, napkins,
quilts, and stuffed animals. I hemmed pants or altered the neckline of
shirts. I have never sewn an item of clothing all by myself, that is
until this week. I thought I should start with something simple, so I
found this pattern from fabric.com for a very simple 8 paneled skirt. I
figured that as long as all I had to do was cut the panels, sew them
together, hem the skirt, and insert the elastic waist, that would give
me a good idea of if I was cut out to make more complicated garments.
I got some lovely red cotton crepe and started work. Once I had cut the eight panels I realized that the fabric was very sheer. Being me, I decided to modify the patten, and not in a small way. I decided to make a short underskirt to make the skirt a bit more modest.
I ended up cutting the pattern and cutting eight more panels. I joined the panels at the edges and hemmed the bottoms of both the under and over skirt. I then inserted the underskirt into the over-skirt with the seams facing one another. This had the somewhat unintended consequence of making the inside of the skirt tidier.
I then followed the pattern instructions, folding over the top of the skirt and creating a sheath for the elastic by stitching almost all the way around the top. Next time I will try to create this sheath while also folding under the raw edge of the fabric. As it is, the inside of the waistband has an unfinished edge that I finished with zigzag shears so it won't unravel. The instructions called to pull the elastic through using a large safety pin. I couldn't find one (until, typically, 20 minutes after I needed it) so I used a paper clip. I just had to carefully push the end through between the strands of elastic. At this point, the pattern instructed to "join the elastic", since it was no more specific, I consulted the internet and found some advise saying to zigzag stitch the two ends to a piece of ribbon, so that doubling it doesn't create extra bulk. I did this, pulled the ends up into the skirt and sewed closed the opening, being careful not to catch the elastic in this seam.
All that was left was to trim the rough edges and any stray threads I missed earlier.
It think it came out very well. What do you think?
I got some lovely red cotton crepe and started work. Once I had cut the eight panels I realized that the fabric was very sheer. Being me, I decided to modify the patten, and not in a small way. I decided to make a short underskirt to make the skirt a bit more modest.
I ended up cutting the pattern and cutting eight more panels. I joined the panels at the edges and hemmed the bottoms of both the under and over skirt. I then inserted the underskirt into the over-skirt with the seams facing one another. This had the somewhat unintended consequence of making the inside of the skirt tidier.
I then followed the pattern instructions, folding over the top of the skirt and creating a sheath for the elastic by stitching almost all the way around the top. Next time I will try to create this sheath while also folding under the raw edge of the fabric. As it is, the inside of the waistband has an unfinished edge that I finished with zigzag shears so it won't unravel. The instructions called to pull the elastic through using a large safety pin. I couldn't find one (until, typically, 20 minutes after I needed it) so I used a paper clip. I just had to carefully push the end through between the strands of elastic. At this point, the pattern instructed to "join the elastic", since it was no more specific, I consulted the internet and found some advise saying to zigzag stitch the two ends to a piece of ribbon, so that doubling it doesn't create extra bulk. I did this, pulled the ends up into the skirt and sewed closed the opening, being careful not to catch the elastic in this seam.
All that was left was to trim the rough edges and any stray threads I missed earlier.
It think it came out very well. What do you think?
Monday, March 25, 2013
Here's what I've been up to. . .
I went to my mother's for a few days, and on Friday we took six hours to rip down the '70s style wood paneling in the family room. Here it is before:
After we got the first panel down, we found some drywall in pretty good shape behind it. We thought, great, we will do a bit of spackling and paint the wall no problem. That was optimistic, at the end of the six hours we thought, we'll hire someone to do a lot of spackling and paint the wall, no problem. Here is is after:
The room looks so much bigger and full of light now! I can't wait to see it with a fresh coat of paint.
Since returning home, I have been working on some egg dying for Easter.
I will share the results in a couple of days.
After we got the first panel down, we found some drywall in pretty good shape behind it. We thought, great, we will do a bit of spackling and paint the wall no problem. That was optimistic, at the end of the six hours we thought, we'll hire someone to do a lot of spackling and paint the wall, no problem. Here is is after:
The room looks so much bigger and full of light now! I can't wait to see it with a fresh coat of paint.
Since returning home, I have been working on some egg dying for Easter.
I will share the results in a couple of days.
Subscribe to:
Posts (Atom)